So this post is for letting you all know how to add the Dell Isilon (9.1) as a source storagesystem for your NAS backups WITH the use of SmartConnect.
It involves a few specific steps that might not be as straightforward if you are not a hardcore Isilon administrator (which I am not) 🙂
So to begin, step 1:
Make sure you have set-up the SmartConnect references on the Isilon. This is explained in more detail here: https://www.dell.com/support/manuals/en-us/isilon-onefs/ifs_pub_onefs_9100_administration_guide_gui/smartconnect-zones-and-aliases?guid=guid-0169dad0-b19f-4657-8b13-611a41cc5b63&lang=en-us
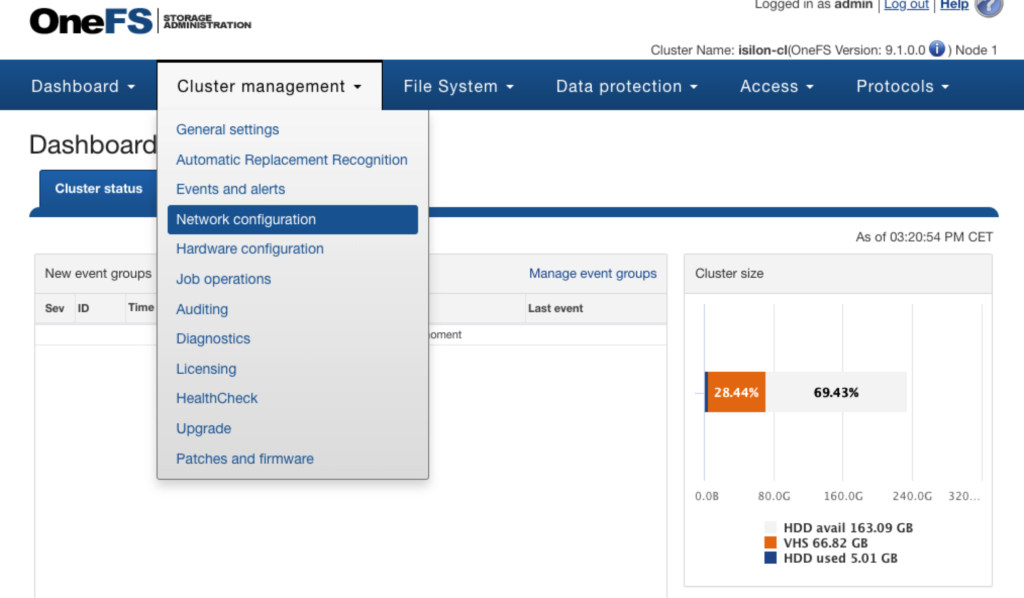
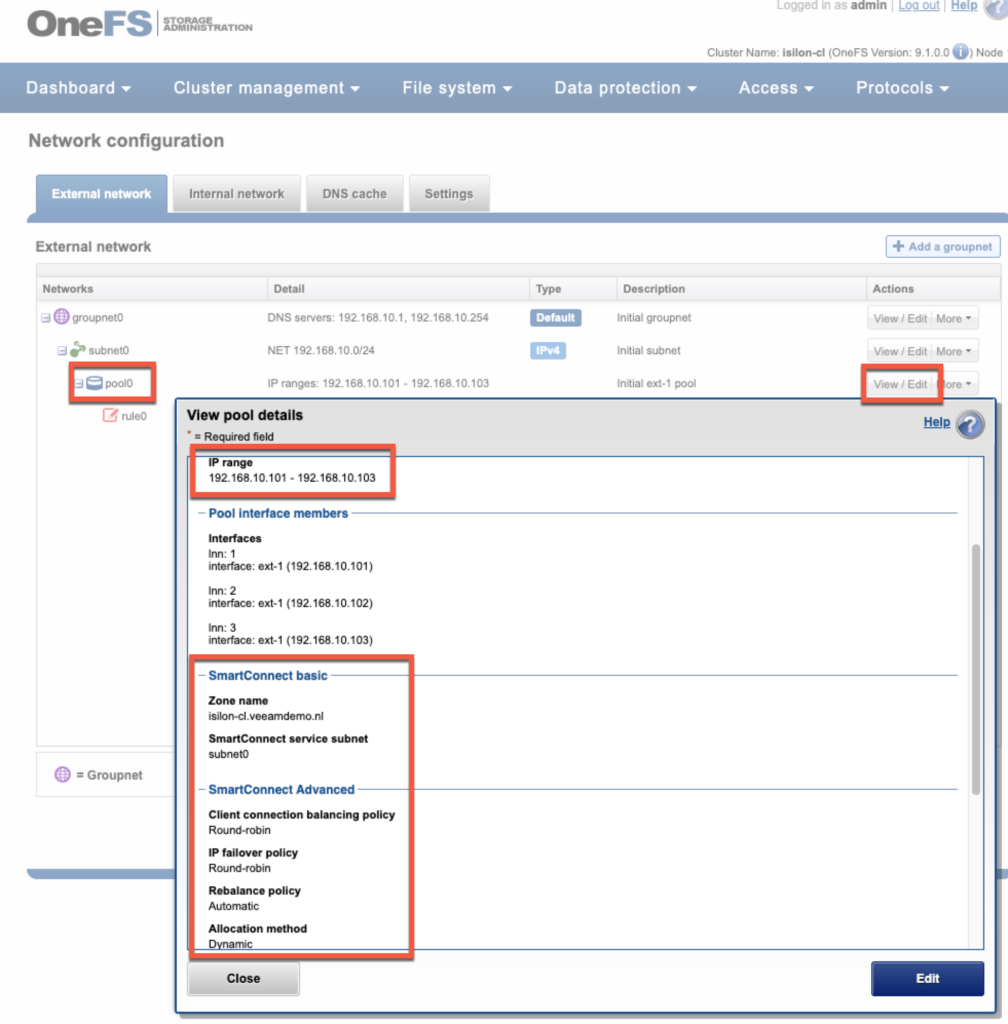
Go to Cluster Management -> Network configuration
Go to subnet0 and click “View/Edit” -> click Edit. Fill in the SmartConnect service IPs (this can be a range or just one IP). In my case this is just one IP. Also fill in the service name.
Go to Pool0 and click “View/Edit”, check the IP range and interface members. Fill in the “SmartConnect basic” info (zone name and service subnet), SmartConnect Advanced settings are also possible to set (if you want to, or just accept the defaults).
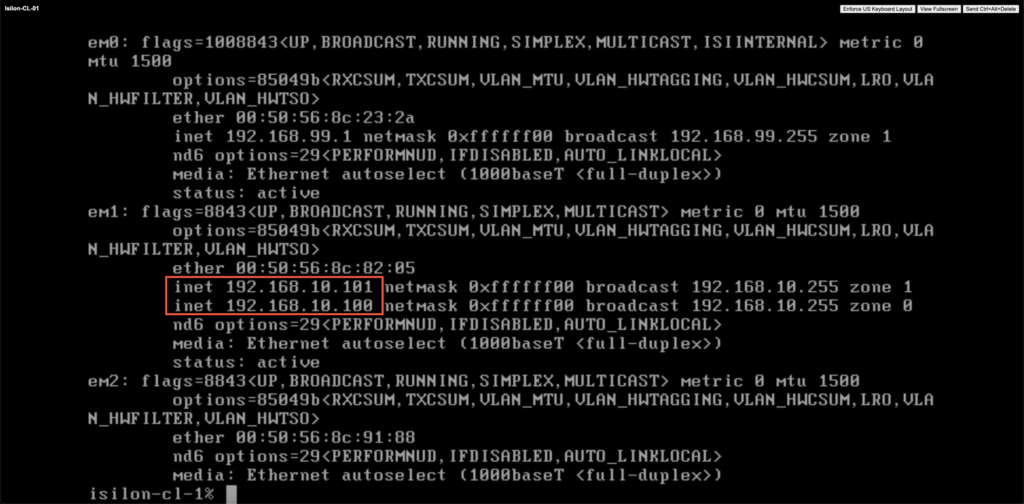
As you can see, if you look at ifconfig the Isilon nodes, is that one of them should have the Smartconnect Service IP attached to it.
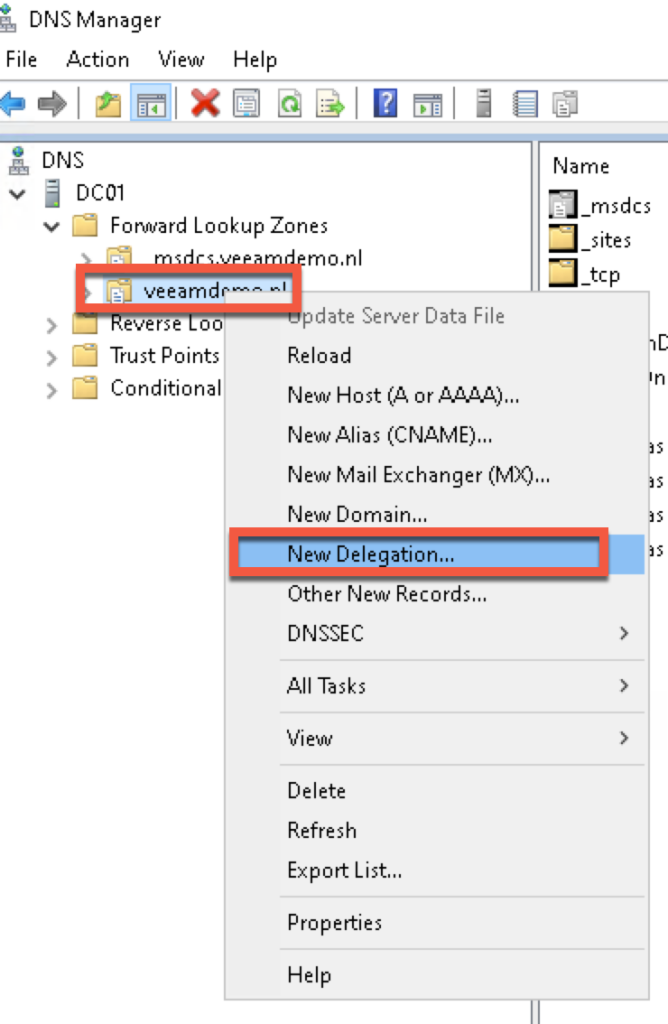
Now that the Isilon has been set-up it is time to make some settings in your DNS server (in my case this is a Windows 2022 DC with DNS).
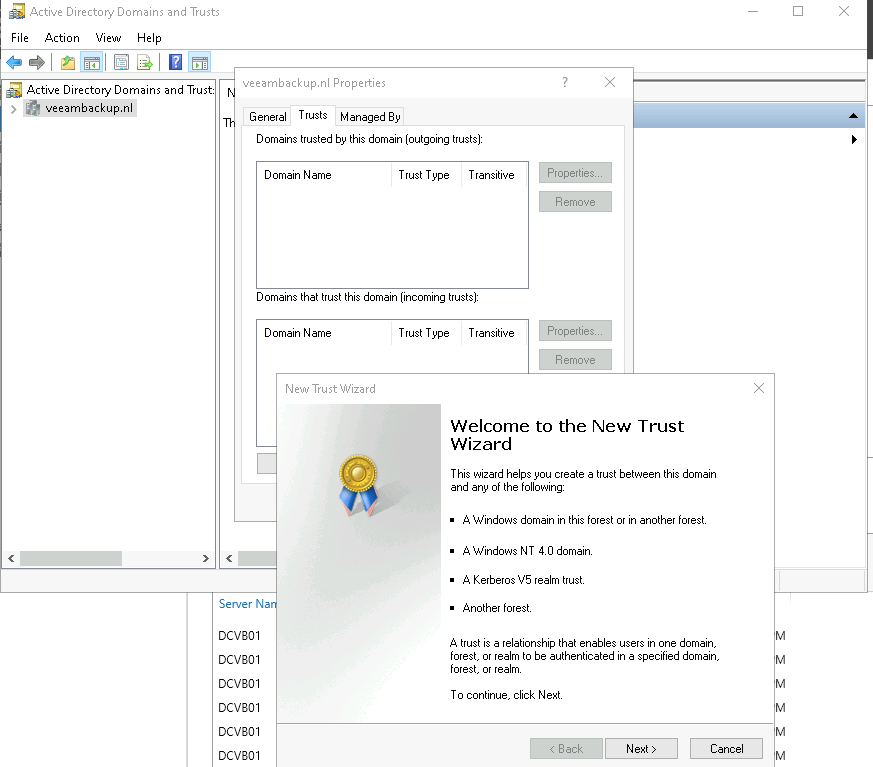
Start with adding an NS (Name Server) entry to the DNS that points to the SmartConnect Service IP.
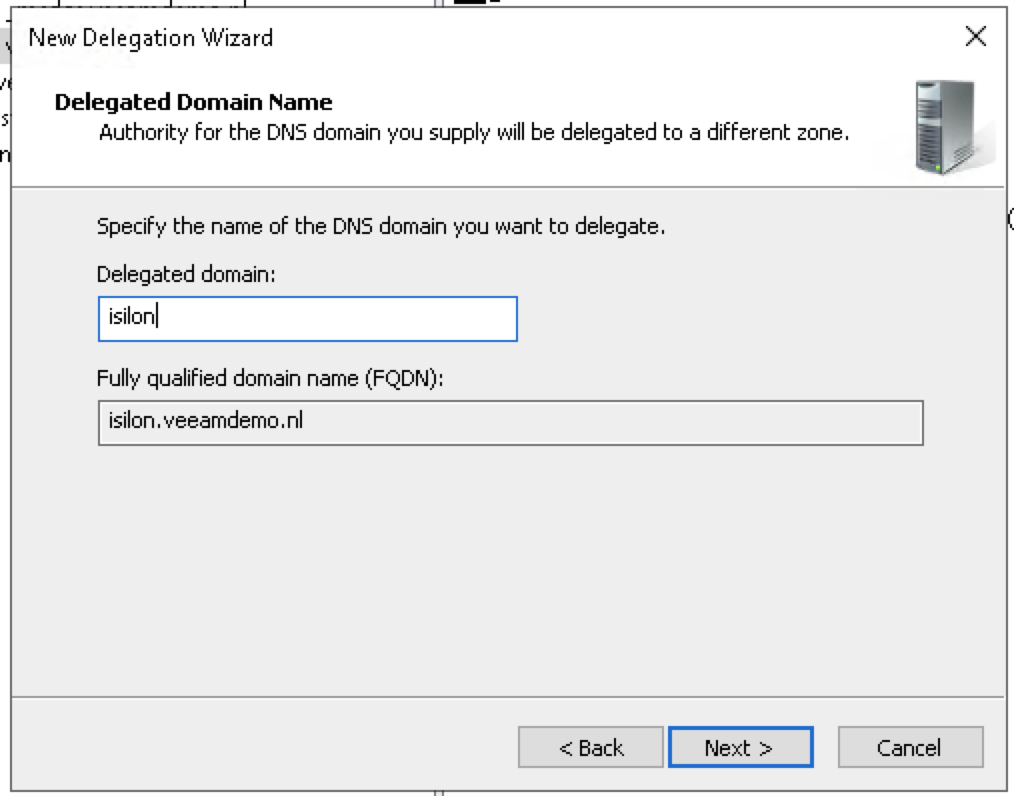
Right click the domain where the Isilon is located and select “New Delegation”
Click Next
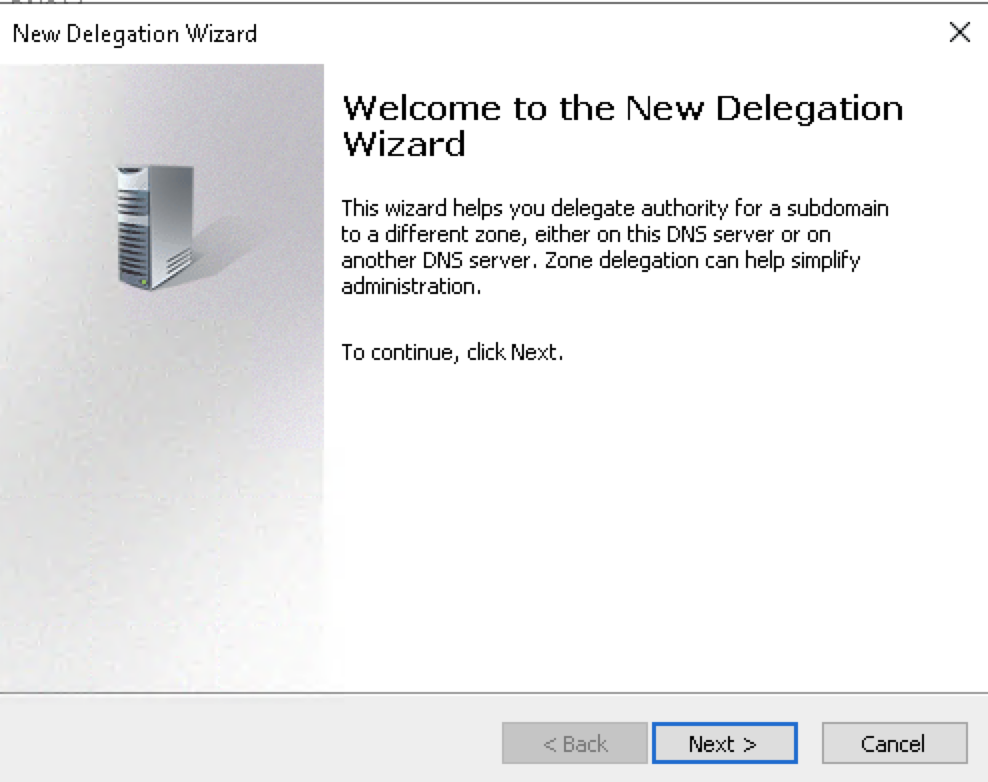
Fill in the delegated domain (in my case just isilon). Click Next.
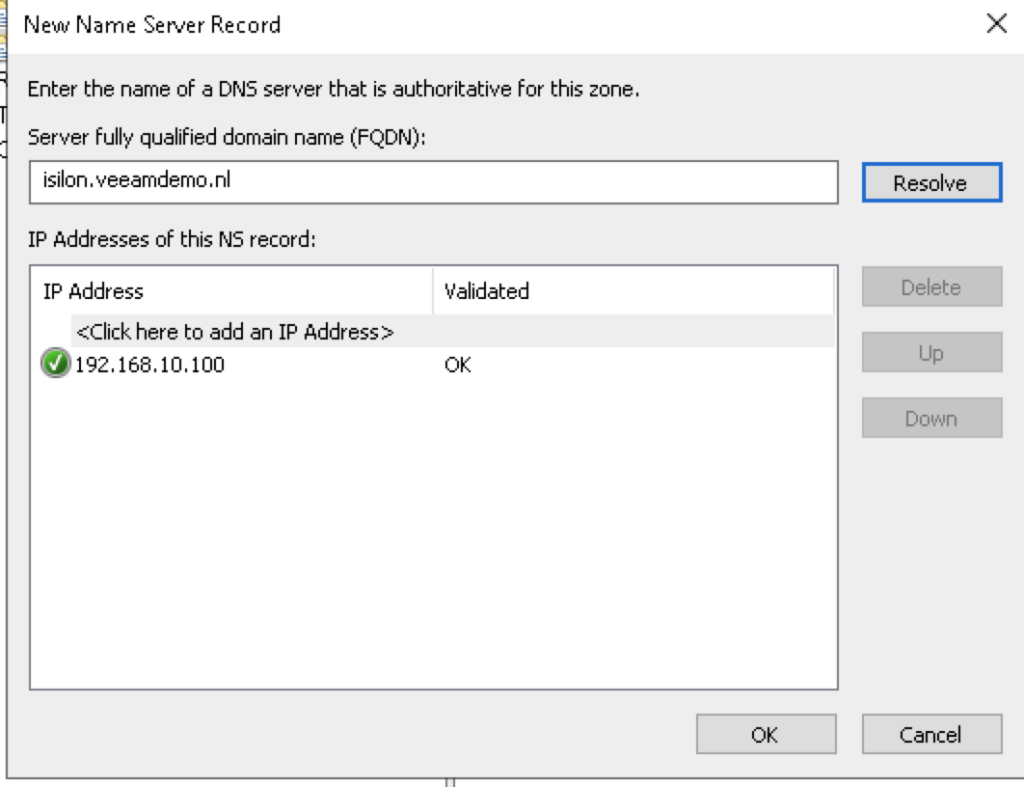
Fill in the FQDN and NS record of the SmartConnect service IP.
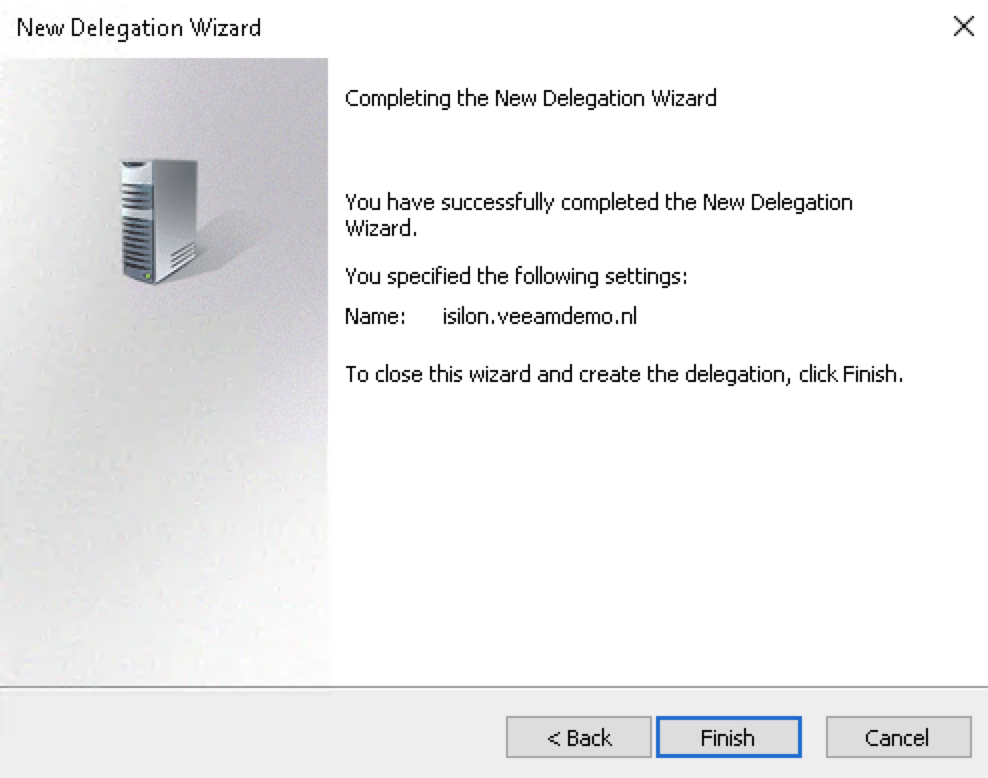
After that you will (hopefully) get a message that the Delegation has been succesfully completed.
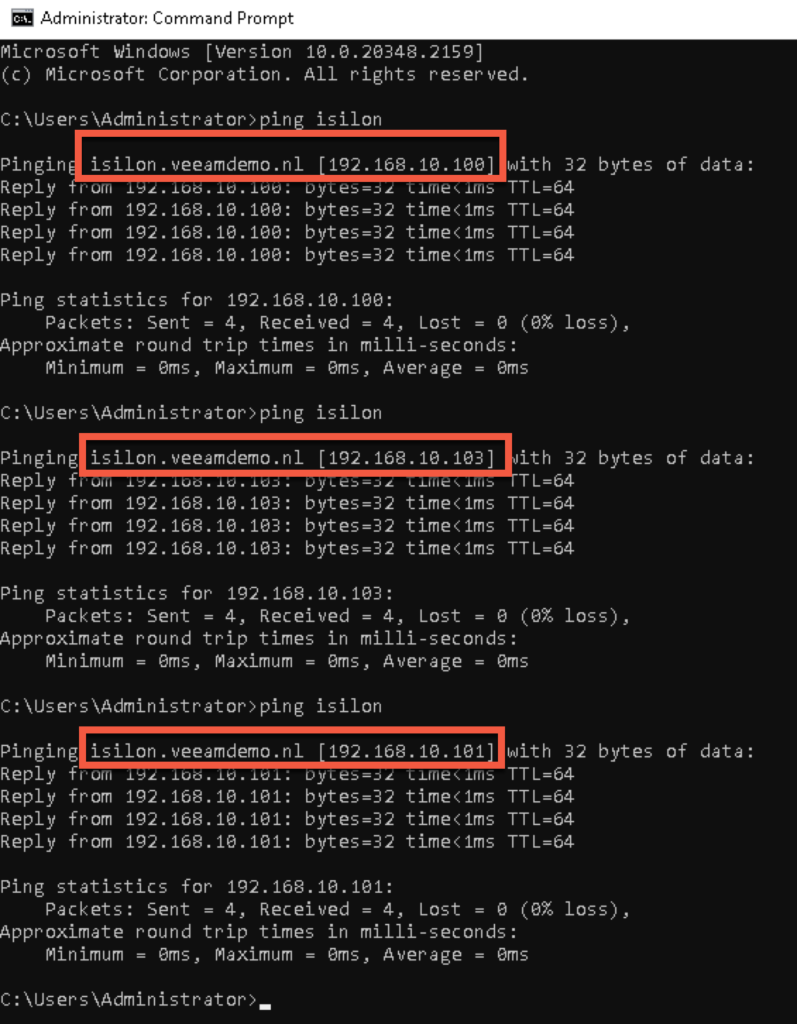
To check if it is working you can ping the isilon on the name you added to DNS (in my case just isilon). It will answer with an reply from one of the IP’s that are defined on the external range in the Isilon (in my case 192.168.10.101-103).
Now that this has been done and verified, the Isilon can be added to the Veeam infrastructure based on its SmartConnect DNS name, and for all its data actions in the future, it will leverage one of the ips from the external range (based on the policy that was set in the Isilon).
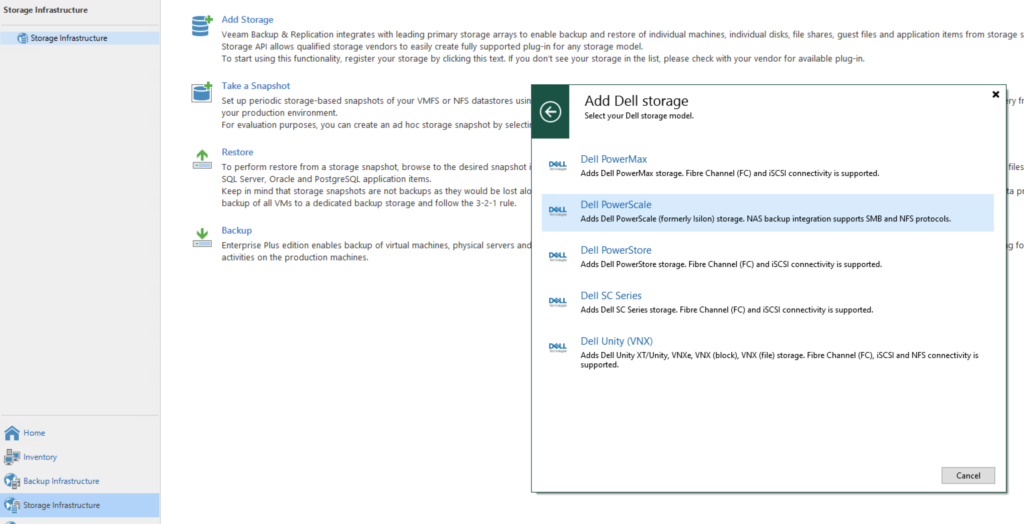
Go to “Storage Infrastructure” and click “Add Storage”.
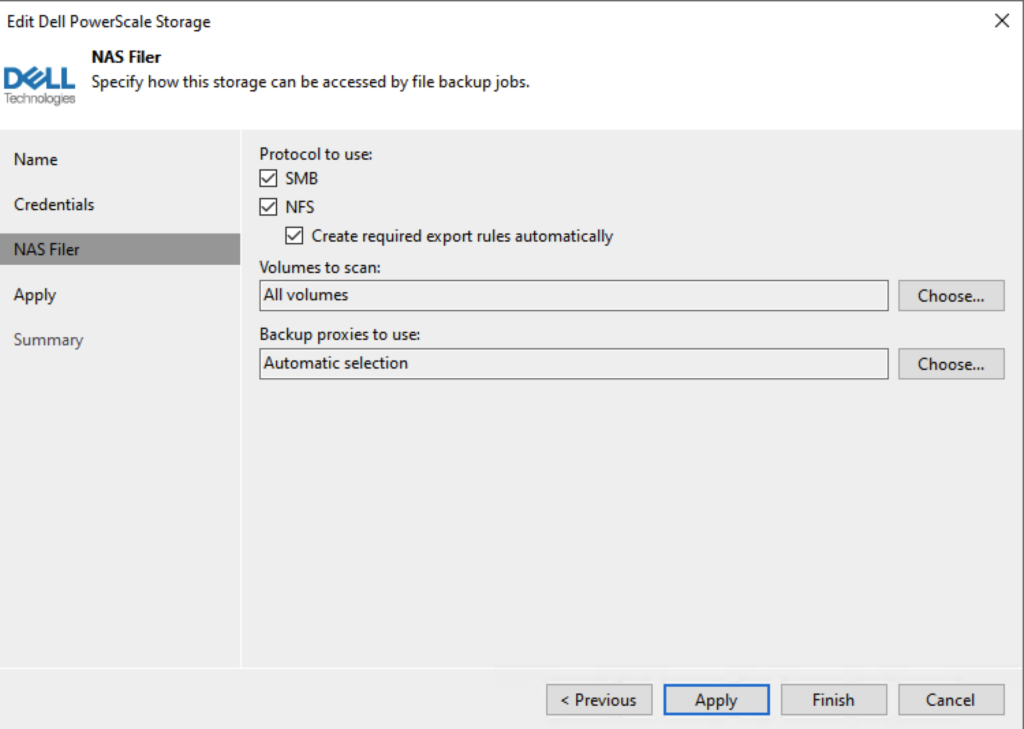
Fill in the Isilon FQDN name of the SmartConnect that was added to the DNS server.

Select the Credentials to be used to access the Isilon.

Select the protocols to be used and click Apply.
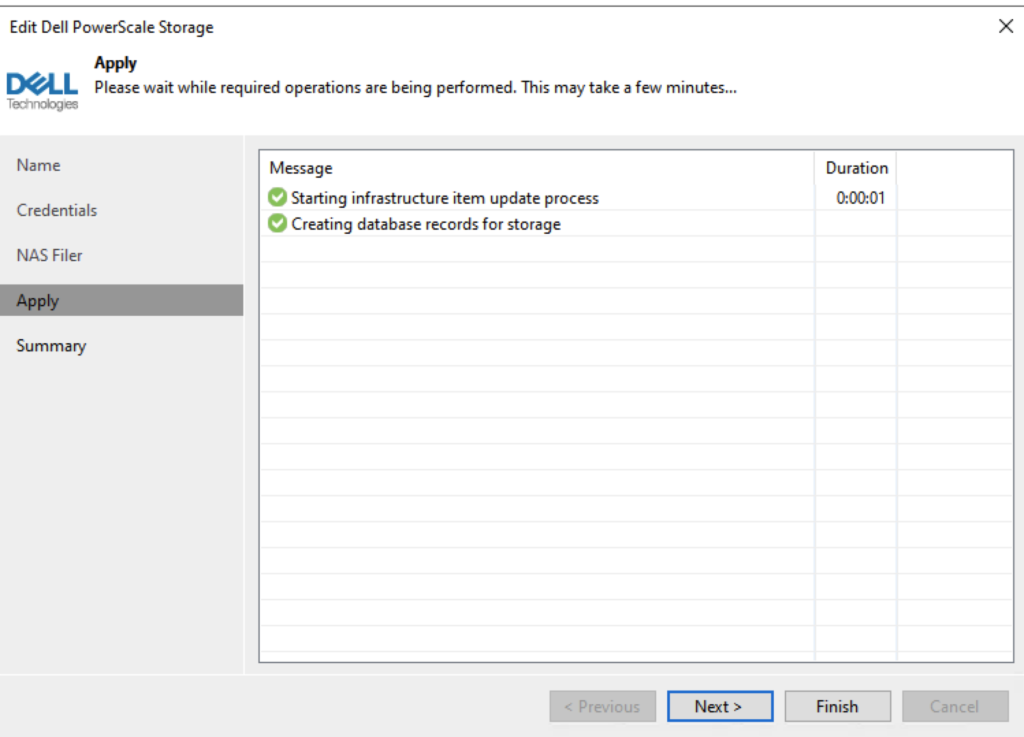
Click Finish.
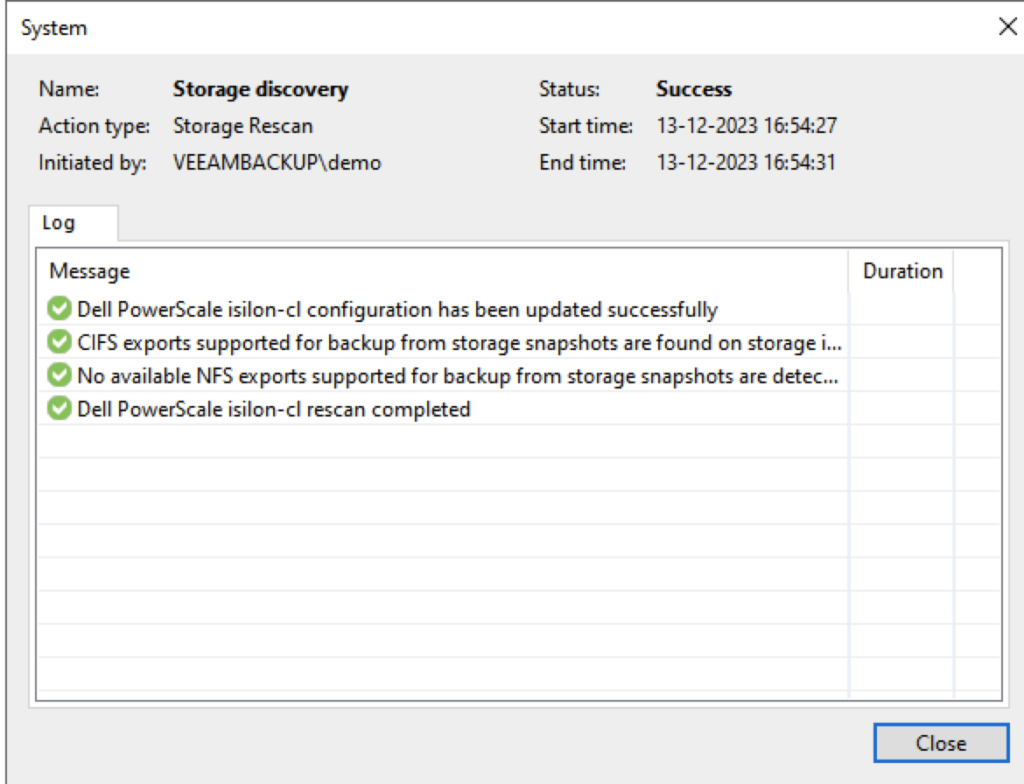
After pressing Finish a new “Storage Discovery” will be initiated. Click Close.
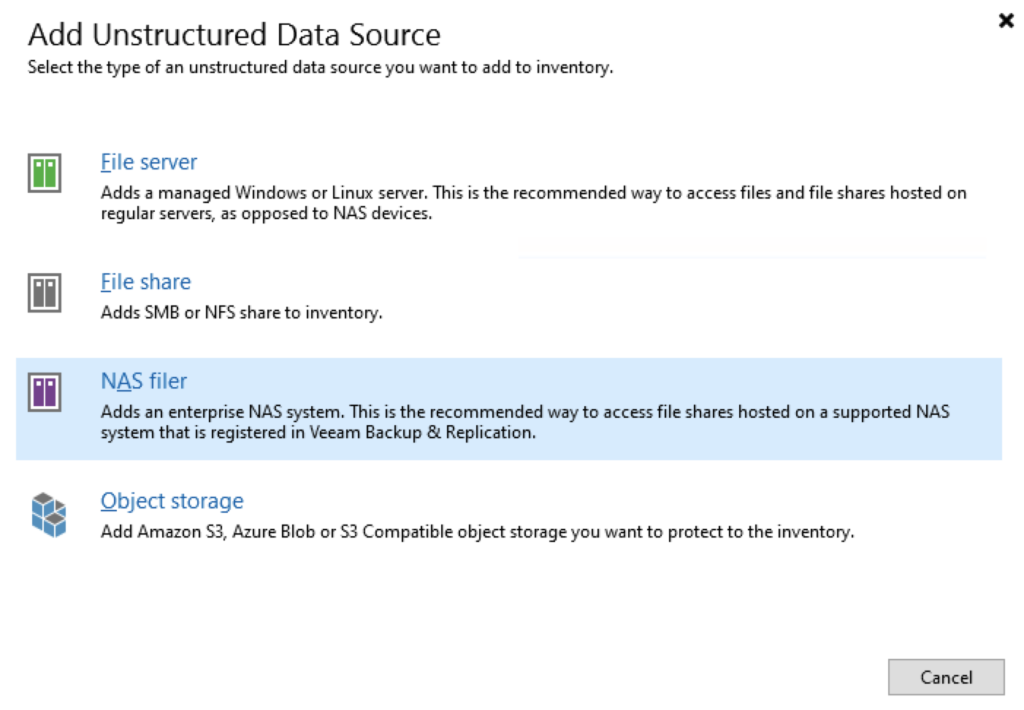
Now that it has been added to the Storage Infrastructure we can add it as a “Unstructured Data source” for the NAS backups.
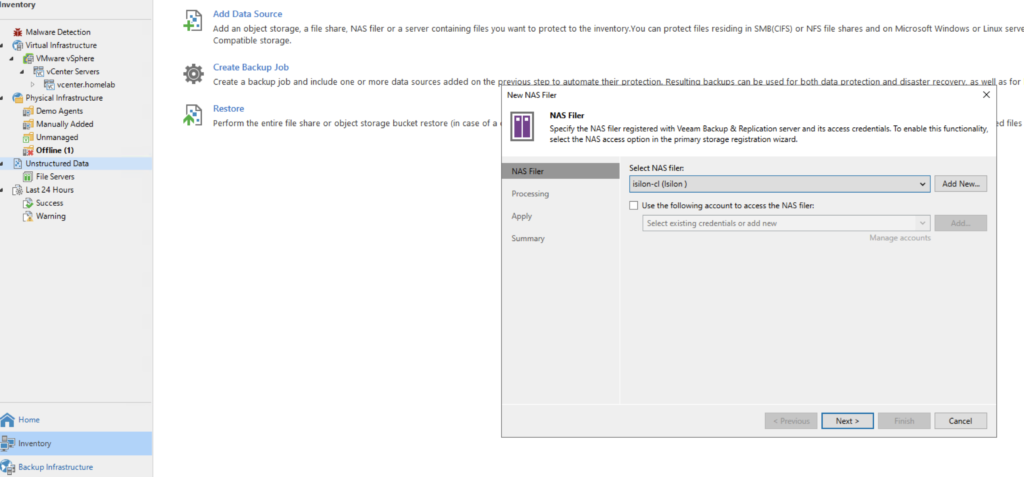
Goto “Inventory” and select “Unstructured Data”, select “NAS Filer”.
Select the Isilon NAS Filer that was added to the Storage Infrastructure.
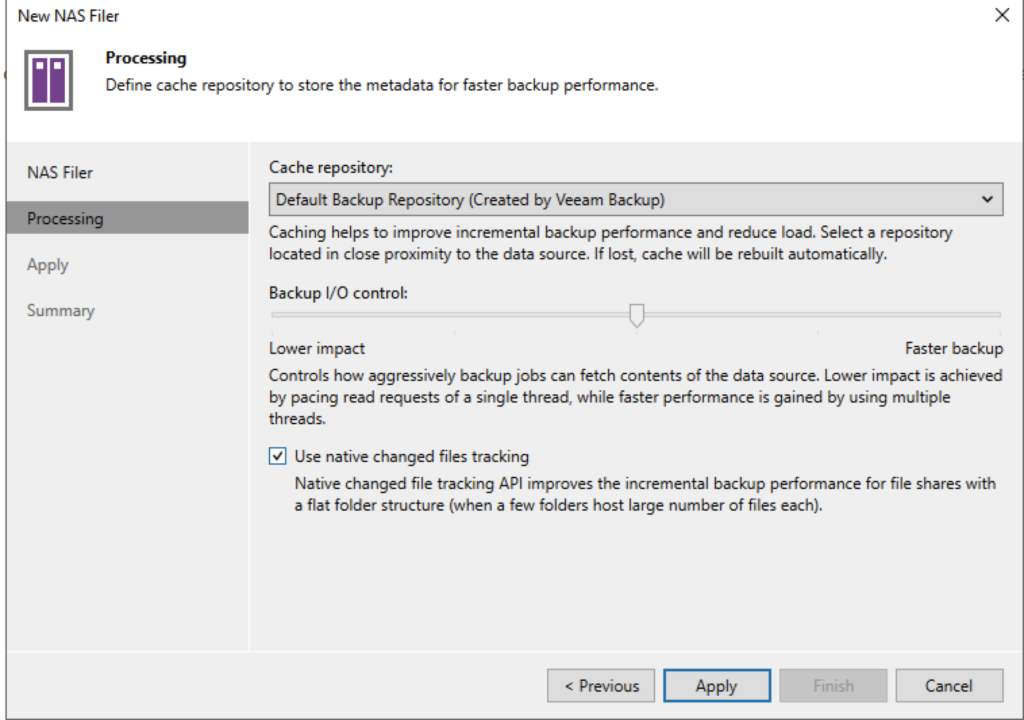
Select the “Cache Repository” and your “Backup I/O control” preference. For Isilon, you can use the “Native changed file tracking” and hit “Apply”.
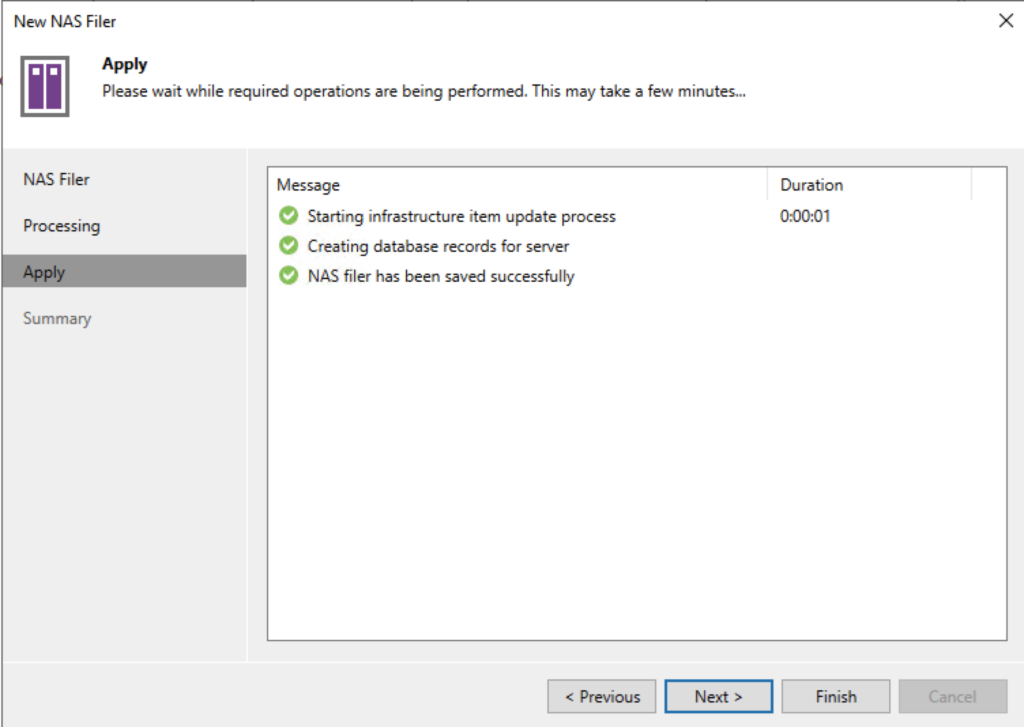
Click Finish.
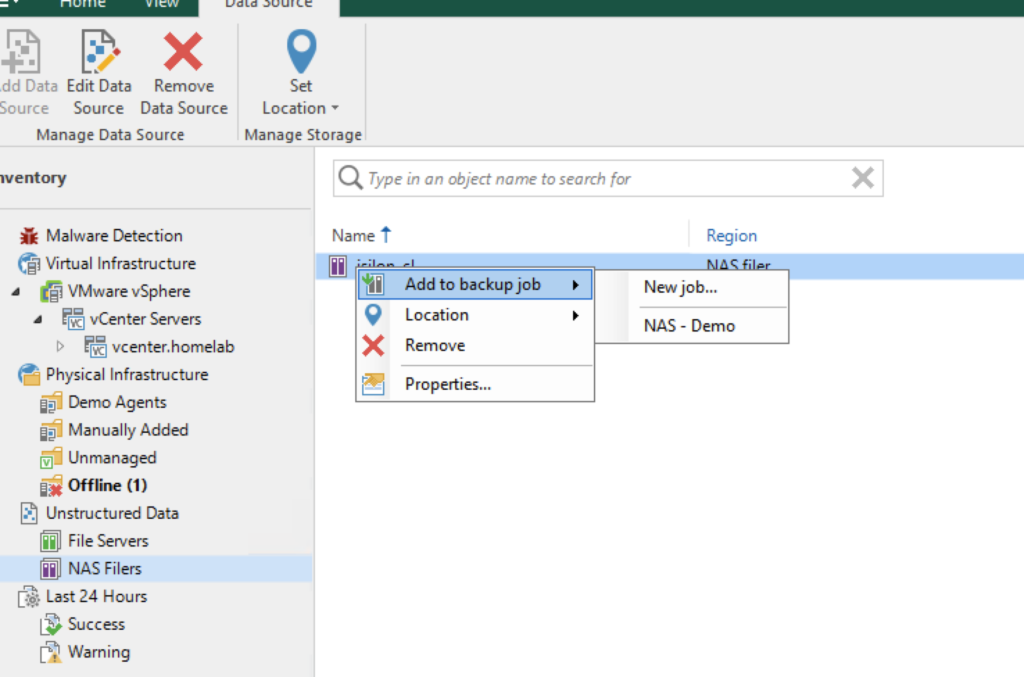
Now right click the Isilon and select “Add to backup job” and follow the wizard!
Your NAS job will be processed based on the SmartConnect settings that have been applied earlier. Happy times 🙂